The kid’s are back in school and you’re finally getting your routine down again when you remember you didn’t take the kids back to school shopping! Or, maybe you did and you just didn’t find many things you thought were worth buying. Either way, this super easy summer dress will remind you of summer all year long and get your children Back to School: In Style!
This pattern piece!
¾ Yard of your favorite (link) Rose & Hubble fabrics from Walmart.com
1 Yard of another Rose & Hubble Fabric (for the contrasting skirt)
First, cut out 4 of your pattern piece on the fold. Don’t forget to add in the seam allowance of your choosing prior to cutting them out of your fabrics. We like a ¼” seam allowance.
Next, grab two of the pattern pieces and open them up. Lay them flat on the table, right sides together and sew up the side seams, around the arms, shoulders and necklines. We like to use a small zig-zag for this. Turn the fabric right side out and iron everything nice and flat. Repeat for the other two pattern pieces. You now have a front and back to your dress.
After those are sewn, we’re going to sew them to each other by sewing up the side seams, arms, & shoulders. Since the pretty side of the fabric is visible from all sides on both front and back pieces, it doesn’t matter how you face these when you sew them-the result will be the same. Turn right side out and iron everything all nice and flat. The bodice is now assembled! Almost done!
Here comes the fun part, go get your child and that other contrasting fabric because we are going to cut the skirt. Measure 5 inches down from your child’s underarm. Starting from that point, measure down with your measuring tape until you’ve reached the length you want the skirt to be, then add ¾ of an inch to your measurement for the seam allowance.
Example: I want the skirt to be 14 inches long, so I’ll add ¼” seam allowance to sew it to the top of the dress and a ½” seam allowance for the hem which equals 14 ¾”.
Now that you have your measurement, cut the skirt out of your fabric. The width will be the width of the bodice + 2” to the left + 2” to the right. See picture below.
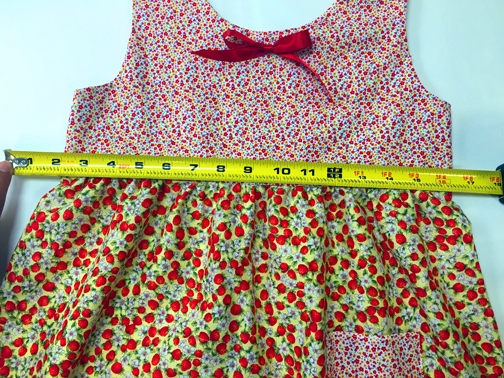 Cut 2 so you can have a front and a back
Then sew up the side seams with the fabrics right sides together with a zig zag stitch.
After, fold the bottom hem up ½” and stitch it in place with a top-stitch. Be sure to make your stitches nice and neat as they will be visible from the front!
Next, sew the skirt to the bodice, gathering the fabric as you sew, little by little. It sounds complicated but it really isn’t. Just play with it until you’ve sewn all around and before you know it…..
You’re done!
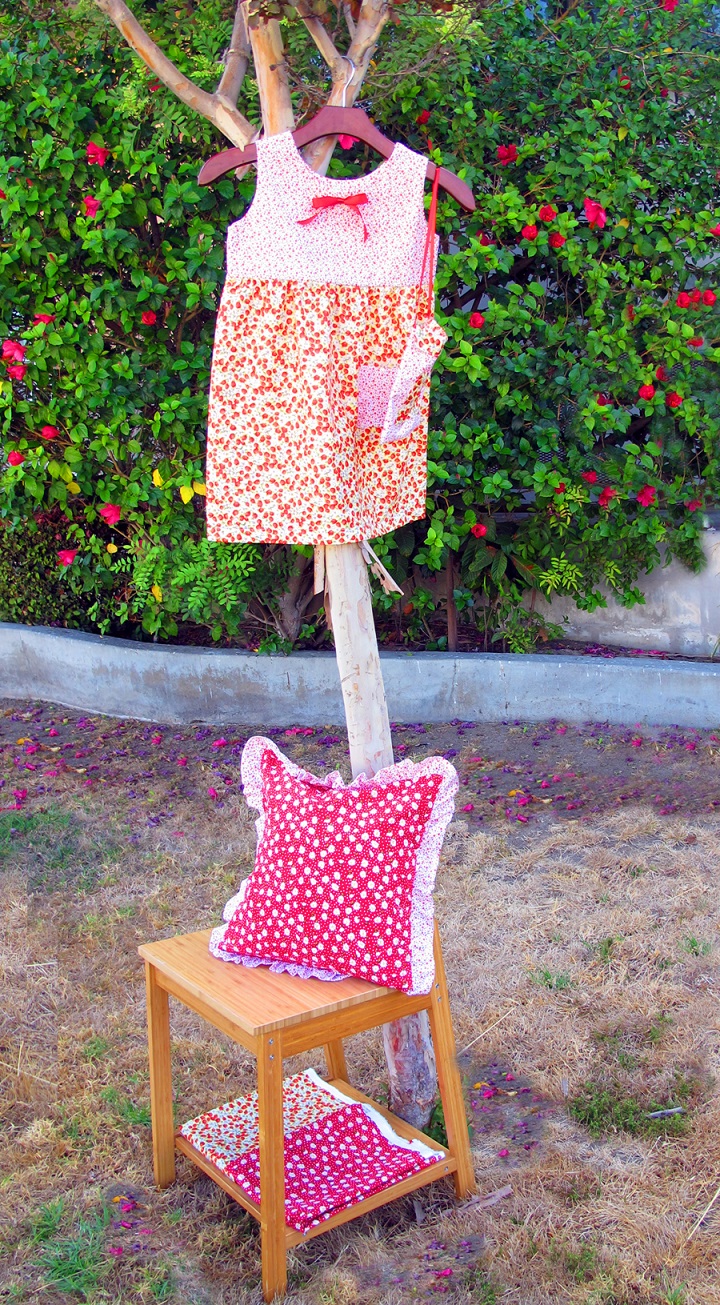 Now you can personalize it or leave it as is. We added a pocket and a little bow. The bow requires a 12” piece of ribbon. You can hand-sew it in place for a sweet look that takes a quick 5 minutes.
If you want to add the pocket, you can check out our previous blog post here to grab the pattern piece, or you can just cut a square of the dimensions of your choosing and sew in place.
You’ll see in the photo a little satchel with the dress. If you want to make that as well, it’s really simple.
Cut two 9.25” x 6.75” pieces of fabric and sew them right sides together with a zig-zag stitch, leaving a small opening so you can turn it right side out.
Cut two 7.75” x 6.75” pieces of fabric and sew them right sides together as well. Don’t forget the small opening to turn it right side out.
Sew these together with a zig-zag stitch. Make sure the stitches are nice and firm! The back will be longer then the front because the back piece will double as the flap to keep the purse closed.
For the strap, we used the same ribbon we used for the bow on the dress. The length we chose was 10” long. We knotted the ends and then sewed it in place on either side of the top
To keep it closed better, we sewed a little piece of Velcro on the flap, this is optional.
All done! Or, add a pocket like we did. It’s fast and gives it a special touch!
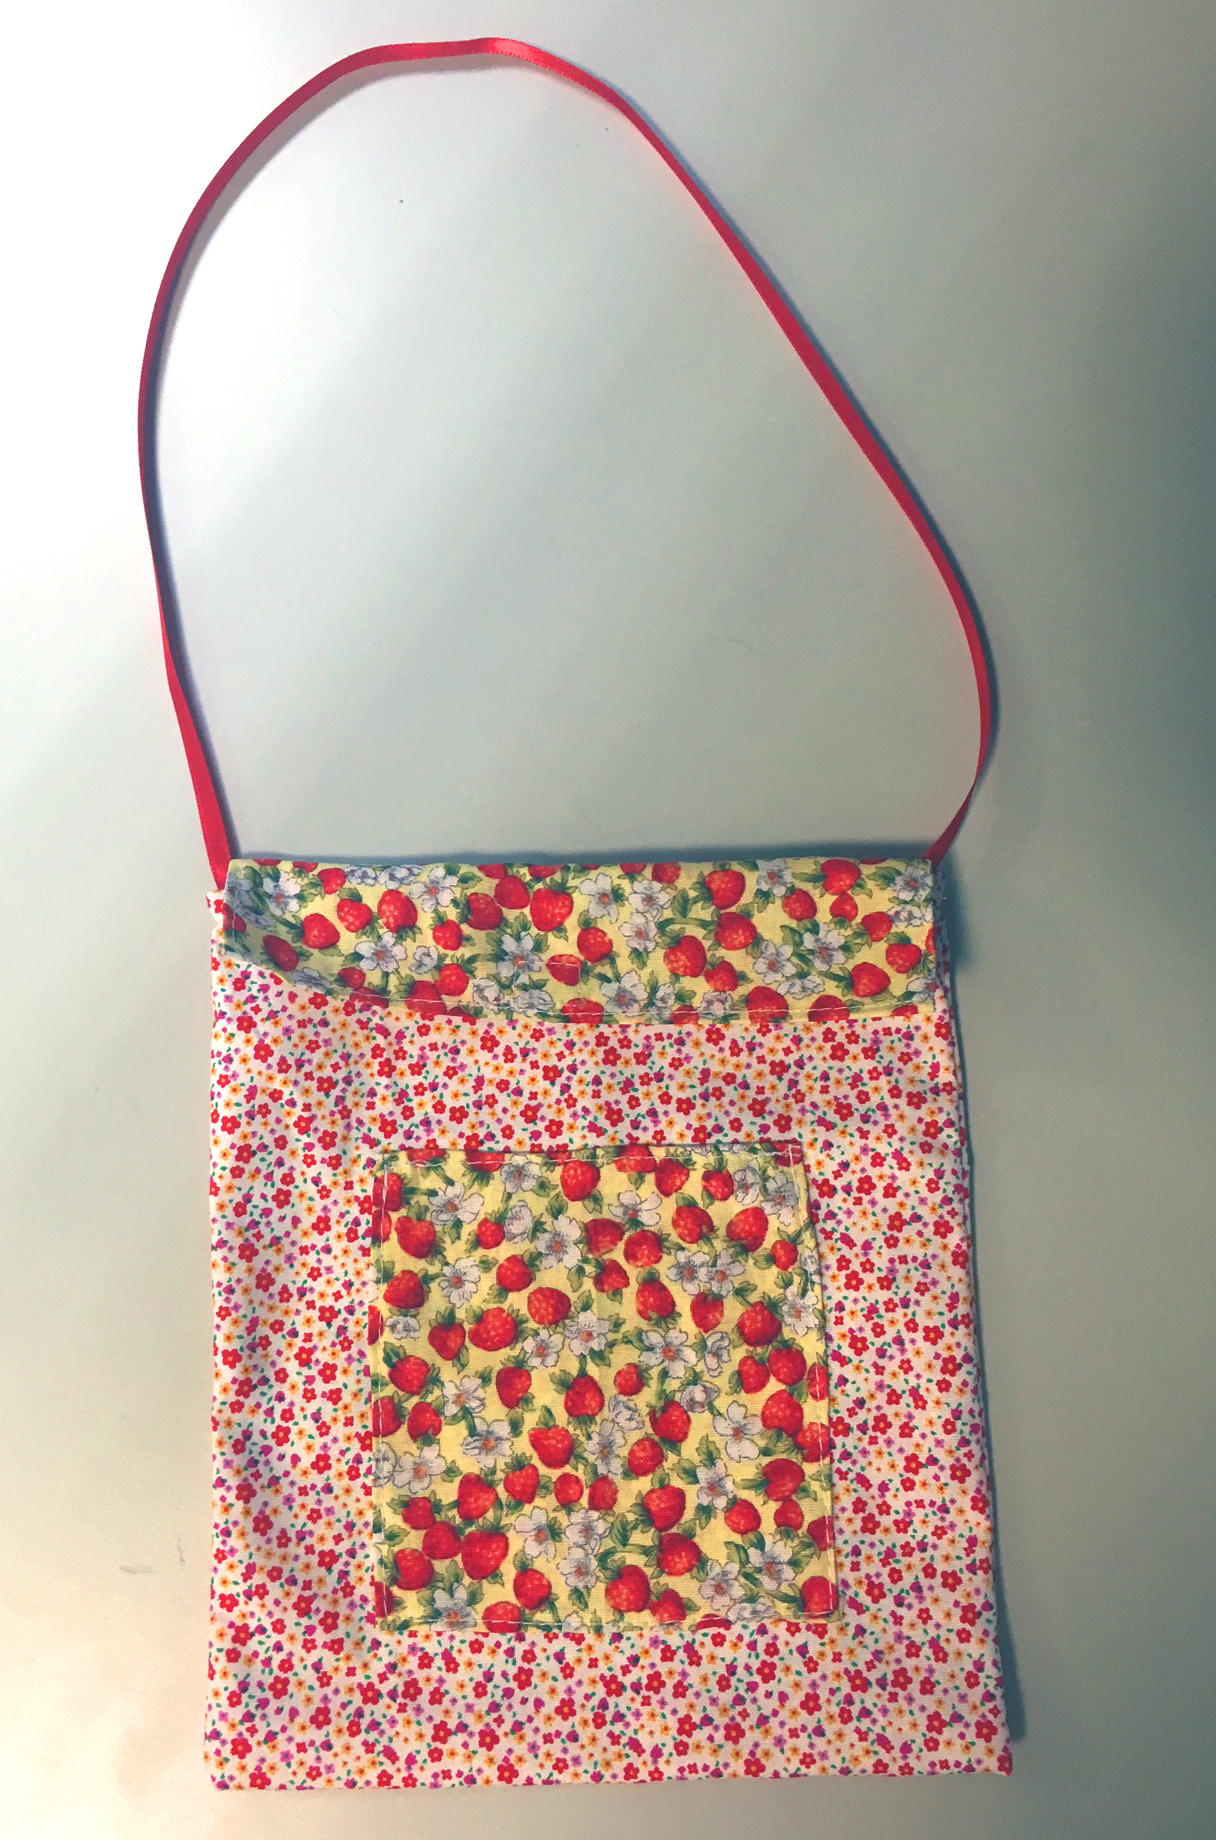 Not too shabby if we do say so ourselves. Are you going to give this project a try? We want to see! Follow us on Instagram: @davidtextilesinc and #ilovedavidtextiles
We love to see your work, and we may even give you a shout!
Love these cute summer fabrics? Be sure to follow us on Instagram because we’ll be doing a giveaway of these gorgeous prints very soon! Who doesn’t love freebies? More details to come, so be sure to follow, follow, follow!
 Cut 2 so you can have a front and a back
Then sew up the side seams with the fabrics right sides together with a zig zag stitch.
After, fold the bottom hem up ½” and stitch it in place with a top-stitch. Be sure to make your stitches nice and neat as they will be visible from the front!
Next, sew the skirt to the bodice, gathering the fabric as you sew, little by little. It sounds complicated but it really isn’t. Just play with it until you’ve sewn all around and before you know it…..
You’re done!
 Now you can personalize it or leave it as is. We added a pocket and a little bow. The bow requires a 12” piece of ribbon. You can hand-sew it in place for a sweet look that takes a quick 5 minutes.
If you want to add the pocket, you can check out our previous blog post here to grab the pattern piece, or you can just cut a square of the dimensions of your choosing and sew in place.
You’ll see in the photo a little satchel with the dress. If you want to make that as well, it’s really simple.
Cut two 9.25” x 6.75” pieces of fabric and sew them right sides together with a zig-zag stitch, leaving a small opening so you can turn it right side out.
Cut two 7.75” x 6.75” pieces of fabric and sew them right sides together as well. Don’t forget the small opening to turn it right side out.
Sew these together with a zig-zag stitch. Make sure the stitches are nice and firm! The back will be longer then the front because the back piece will double as the flap to keep the purse closed.
For the strap, we used the same ribbon we used for the bow on the dress. The length we chose was 10” long. We knotted the ends and then sewed it in place on either side of the top
To keep it closed better, we sewed a little piece of Velcro on the flap, this is optional.
All done! Or, add a pocket like we did. It’s fast and gives it a special touch!
 Not too shabby if we do say so ourselves. Are you going to give this project a try? We want to see! Follow us on Instagram: @davidtextilesinc and #ilovedavidtextiles
We love to see your work, and we may even give you a shout!
Love these cute summer fabrics? Be sure to follow us on Instagram because we’ll be doing a giveaway of these gorgeous prints very soon! Who doesn’t love freebies? More details to come, so be sure to follow, follow, follow!

