A Blanket Roll-up You Sew Have to Try!
It’s July and Summer is in full swing! Ah, Summer. The time for beach days, bike rides, picnics and getting outdoors for those ever popular nature and waterfront cinemas & events! Do you know what all of these things have in common? You’ll need something to sit on! And not just any old towel or old blanket will do. You need a beautiful one that’s easily portable and grab-n-go.
So, what are we waiting for? Let’s get started!
Things you’ll need:
1. Your plethora of fabrics. We used some scraps we had and ended up using 5 different patterns. You will need enough for a total of twenty five 12” x 10” rectangles
2. 60” x 52” piece of Vinyl/laminated cotton OR an inexpensive vinyl tablecloth like this one for the backing
3. Coordinating piece of ribbon measuring 44”
4. Sewing Machine/Serger, Scissors, thread and Pins
Instructions
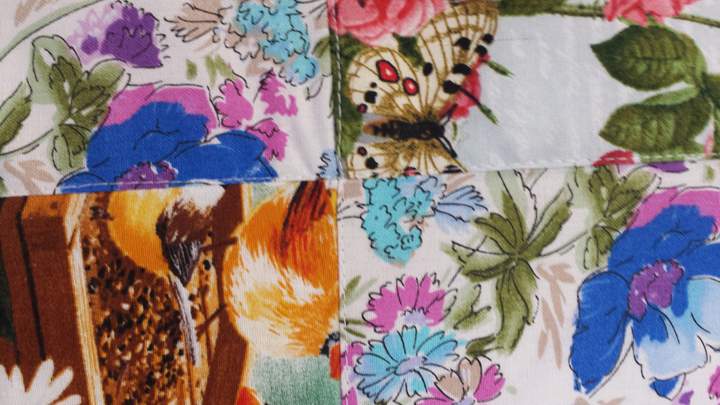
Start by cutting 25 rectangles of your choice of various coordinating fabrics at 12” x 10”.
Lay them out in whatever fashion you like best and pin them all together in the same fashion as when you’ll begin to sew.
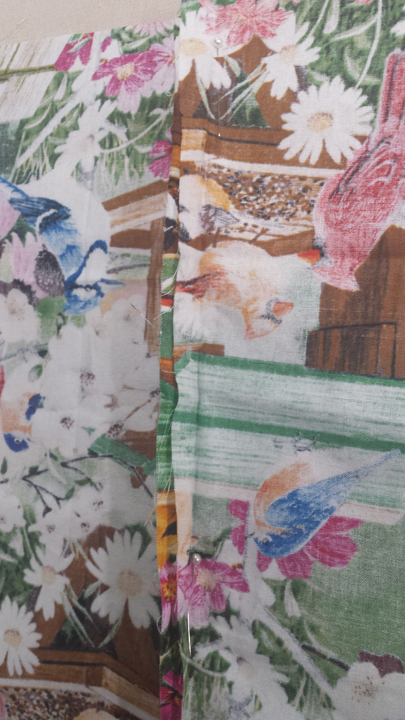 Be sure to pin it on the 'wrong' side!
When you have all your rectangles pinned and ready to sew, go right on and sew them all together! You can use a serger or any home sewing machine to do this. If you use a regular sewing machine, I recommend a zig-zag stitch to help with fraying. You can also sew by hand though it may take you a little while so put on a good movie and park yourself on the couch if you go this route.
This is now the full front of the roll-up!
You’ve done the hardest part, so the rest will be a piece of cake (you can go ahead and eat that cake too, when you have your next picnic day for all your hard work!)
Next, grab your vinyl (laminated cotton*) or your pre-bought inexpensive vinyl tablecloth and pin it to the front of the roll-up, right sides together. Be sure to leave a small 4 inch opening so you can turn the roll-up right side out. Once you have turned it right side out, run a top-stitch to close that 4” opening and continue your top stitch all the way around the roll-up, and up every "aisle" to give it a more finished, professional look.
Be sure to pin it on the 'wrong' side!
When you have all your rectangles pinned and ready to sew, go right on and sew them all together! You can use a serger or any home sewing machine to do this. If you use a regular sewing machine, I recommend a zig-zag stitch to help with fraying. You can also sew by hand though it may take you a little while so put on a good movie and park yourself on the couch if you go this route.
This is now the full front of the roll-up!
You’ve done the hardest part, so the rest will be a piece of cake (you can go ahead and eat that cake too, when you have your next picnic day for all your hard work!)
Next, grab your vinyl (laminated cotton*) or your pre-bought inexpensive vinyl tablecloth and pin it to the front of the roll-up, right sides together. Be sure to leave a small 4 inch opening so you can turn the roll-up right side out. Once you have turned it right side out, run a top-stitch to close that 4” opening and continue your top stitch all the way around the roll-up, and up every "aisle" to give it a more finished, professional look.
 Sewing a top-stitch all the way around and up every aisle is optional but provides a more durable and professional look!
*Note: if you used laminated cotton, you may need to piece two pieces of it together in order to get it to measure 60.5” x 52.5”. If you do, don’t sweat it. A simple zig zag stitch will get the job done fast or run it through your serger, tadah!
Now, we couldn’t call this a blanket roll-up if it didn’t, well, roll up! To achieve this, cut a piece of coordinating ribbon and cut it to 44” in length. Find the center of the ribbon and the center of the top of the blanket and tack it in place with a sturdy top stitch. We also recommend knotting each end of the ribbon so it doesn’t fall apart in the wash
Sewing a top-stitch all the way around and up every aisle is optional but provides a more durable and professional look!
*Note: if you used laminated cotton, you may need to piece two pieces of it together in order to get it to measure 60.5” x 52.5”. If you do, don’t sweat it. A simple zig zag stitch will get the job done fast or run it through your serger, tadah!
Now, we couldn’t call this a blanket roll-up if it didn’t, well, roll up! To achieve this, cut a piece of coordinating ribbon and cut it to 44” in length. Find the center of the ribbon and the center of the top of the blanket and tack it in place with a sturdy top stitch. We also recommend knotting each end of the ribbon so it doesn’t fall apart in the wash
 The final product!
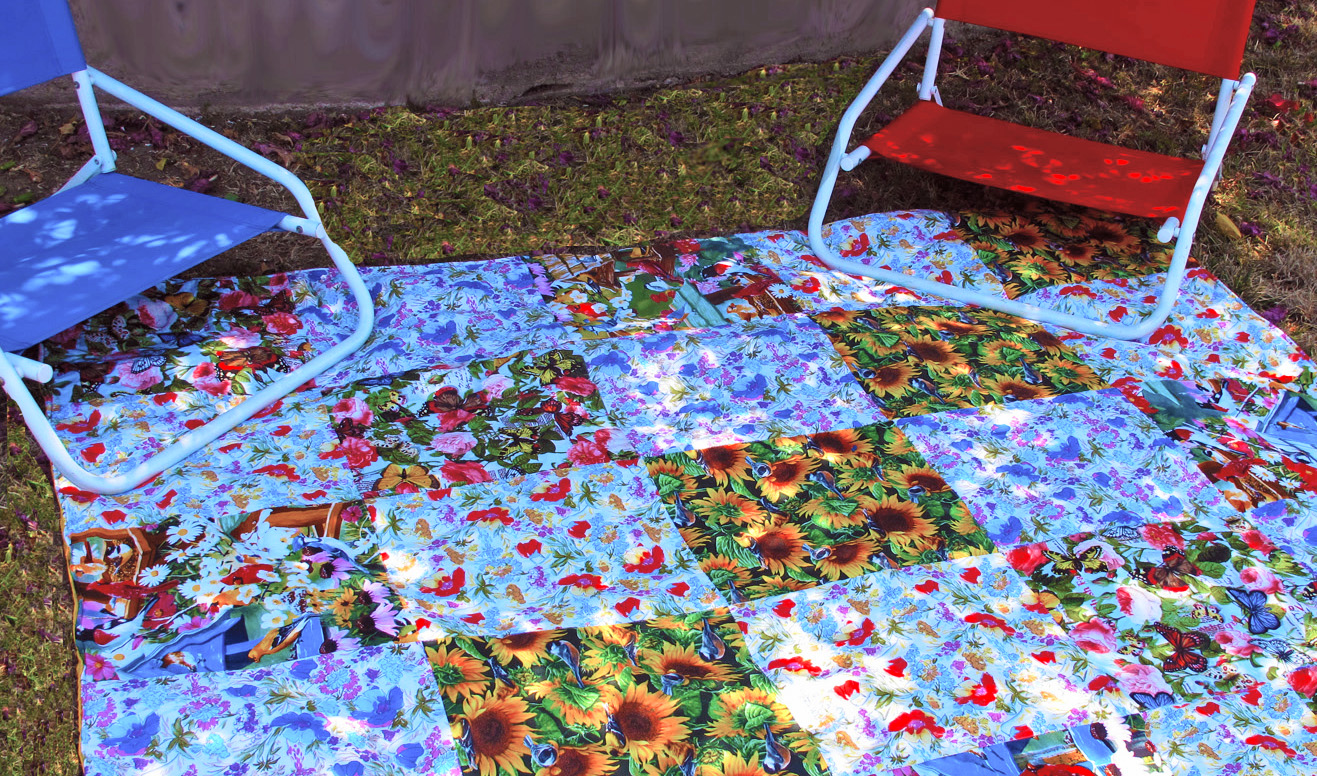 Looks at those beautiful, vibrant colors!
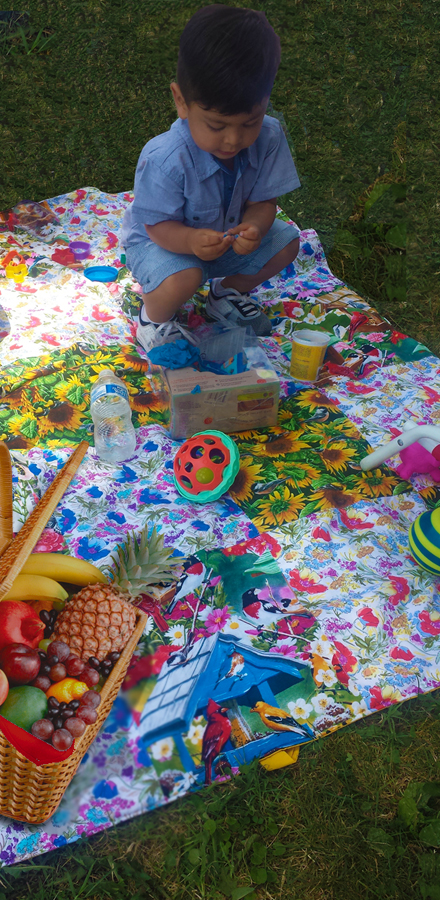 Now taking a blanket to that outdoor event is easy as pie! Simply roll it, stow it and go!
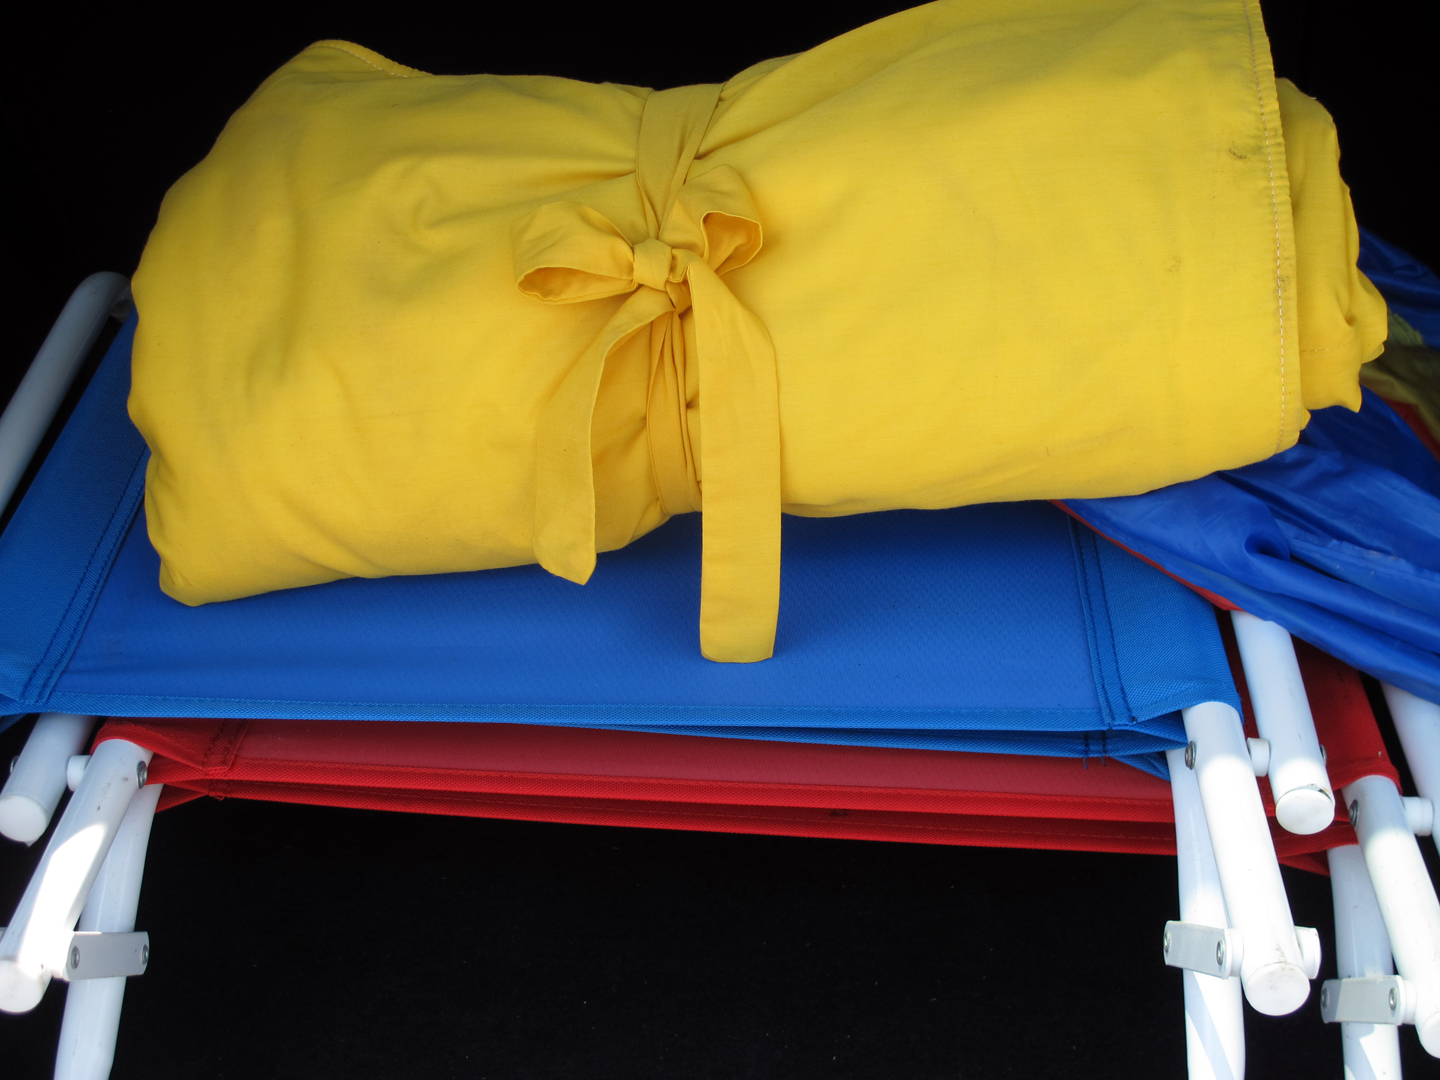 This will be a staple in your car's trunk!
Are you going to give this a try? We’d love to see it! Show us on our Facebook and tag us on Instagram so we can see
Love the fabrics we used? Find them on our website if you have a business license or find a distributor near you by clicking here if you don’t! You can also find them by shopping at Walmart and Walmart.com, or finding other retail locations that may carry them here!
Fabrics used (links):
This will be a staple in your car's trunk!
Are you going to give this a try? We’d love to see it! Show us on our Facebook and tag us on Instagram so we can see
Love the fabrics we used? Find them on our website if you have a business license or find a distributor near you by clicking here if you don’t! You can also find them by shopping at Walmart and Walmart.com, or finding other retail locations that may carry them here!
Fabrics used (links):
Be sure to pin it on the 'wrong' side!
When you have all your rectangles pinned and ready to sew, go right on and sew them all together! You can use a serger or any home sewing machine to do this. If you use a regular sewing machine, I recommend a zig-zag stitch to help with fraying. You can also sew by hand though it may take you a little while so put on a good movie and park yourself on the couch if you go this route.
This is now the full front of the roll-up!
You’ve done the hardest part, so the rest will be a piece of cake (you can go ahead and eat that cake too, when you have your next picnic day for all your hard work!)
Next, grab your vinyl (laminated cotton*) or your pre-bought inexpensive vinyl tablecloth and pin it to the front of the roll-up, right sides together. Be sure to leave a small 4 inch opening so you can turn the roll-up right side out. Once you have turned it right side out, run a top-stitch to close that 4” opening and continue your top stitch all the way around the roll-up, and up every "aisle" to give it a more finished, professional look.
Sewing a top-stitch all the way around and up every aisle is optional but provides a more durable and professional look!
*Note: if you used laminated cotton, you may need to piece two pieces of it together in order to get it to measure 60.5” x 52.5”. If you do, don’t sweat it. A simple zig zag stitch will get the job done fast or run it through your serger, tadah!
Now, we couldn’t call this a blanket roll-up if it didn’t, well, roll up! To achieve this, cut a piece of coordinating ribbon and cut it to 44” in length. Find the center of the ribbon and the center of the top of the blanket and tack it in place with a sturdy top stitch. We also recommend knotting each end of the ribbon so it doesn’t fall apart in the wash
The final product!
Looks at those beautiful, vibrant colors!
Now taking a blanket to that outdoor event is easy as pie! Simply roll it, stow it and go!
This will be a staple in your car's trunk!
Are you going to give this a try? We’d love to see it! Show us on our Facebook and tag us on Instagram so we can see
Love the fabrics we used? Find them on our website if you have a business license or find a distributor near you by clicking here if you don’t! You can also find them by shopping at Walmart and Walmart.com, or finding other retail locations that may carry them here!
Fabrics used (links):
117646-RH-3